be cut (using a pin or end of a knife) into the masking tape. This is to stop any
pressure build up within the blade as the foam expands.
2: Put the blade back into the mould and clamp quite securely. This is to
ensure that the blade will not be forced out of shape by the expanding foam.
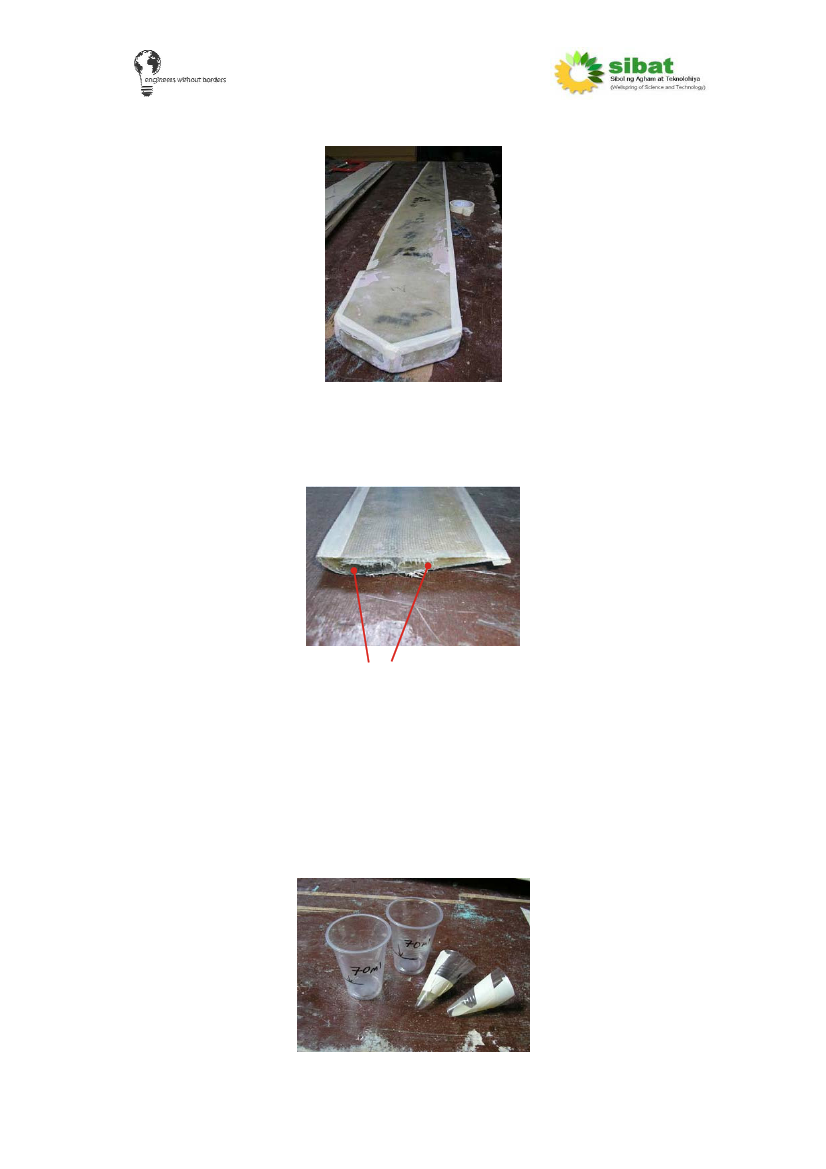
3: The stringer through the blade creates two sides which both need to be
filled. The following picture is viewed from the blade tip, which is still open.
Two sections due to stringer
The two sections are filled separately, with the foam left to cure in between
each section. In order to insert the liquid foam mixture into the blade, two
funnels are required (due to the small size of the openings). Funnels can be
made from plastic sheet rolled into a cone. The funnel hole must be large
enough to allow the foam mixture to run freely through (too small will mean
that the foam starts to expand before it has all flowed into the blade section).
4: Prepare the two-part foam mix. Measure equal quantities of the two
chemicals into correctly marked disposable containers (plastic cups were
used here).
31